Contents
Download
Requirements
- Adobe Lightroom 3.x or later (desktop-based)
i.e. Lightroom 3, 4, 5, 6, 7, 8, 9 and Lightroom Classic 10, 11, 12, 13, but NOT cloud-based Lightroom (which does not support plug-ins) - Windows or Mac
Overview
There are 2 steps for installing the plug-in. I’ve done my best to describe these with screenshots to help as much as possible.
1. Download and unzip the plug-in
2. Install the plug-in within Lightroom
1. Download and unzip the plug-in
1. Use the download link above to download the LATEST version of the plug-in. These instructions only apply to the latest version!
2. Unzip the contents of the downloaded Zip file to a permanent folder on your computer. For example:
On Windows:
Create the following folder:
\Documents\Lightroom Plug-ins
Open the downloaded Zip file and copy the top level folder named “photoupload.lrplugin” from the Zip file into the folder you have just created.
You should now have a folder that looks like this:
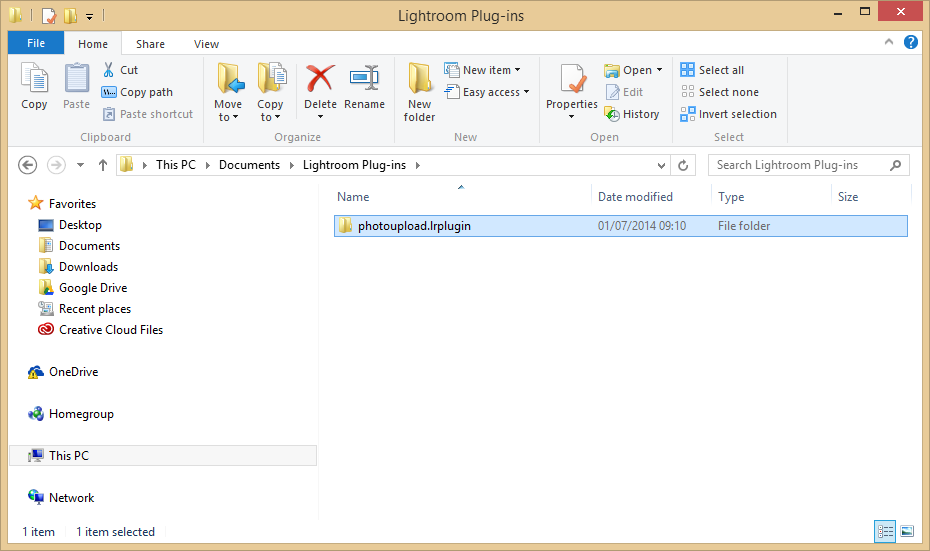
You should end up having the following folder hierarchy:
\Documents\Lightroom Plug-ins\photoupload.lrplugin
Note: Don’t rename the photoupload.lrplugin folder as Lightroom requires the folder have an extension of lrplugin.
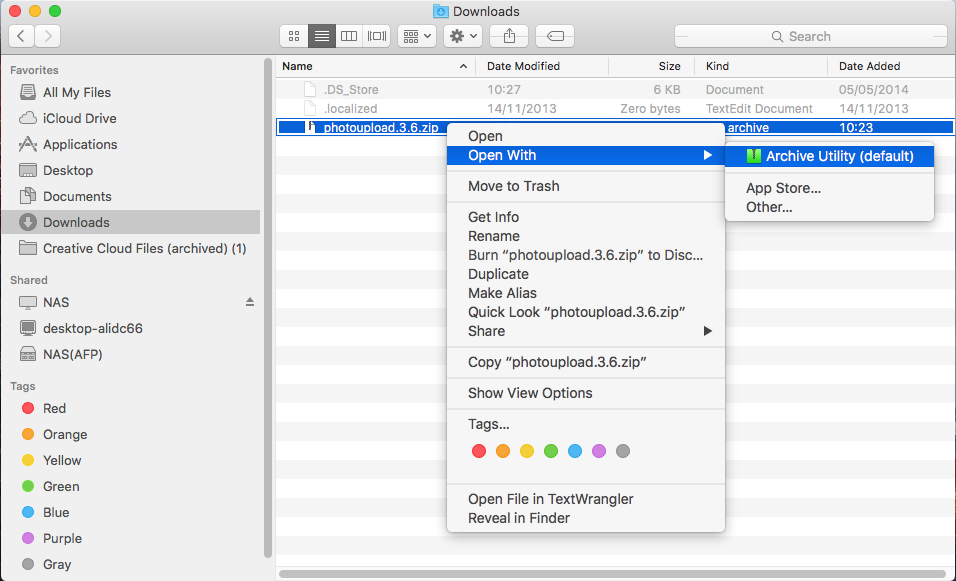
On Mac:
Extract the downloaded Zip file. You can do this by right-clicking on the zip file, choosing Open With and then Archive Utility. This will extract it the *.lrplugin folder from the Zip file into your Downloads folder.
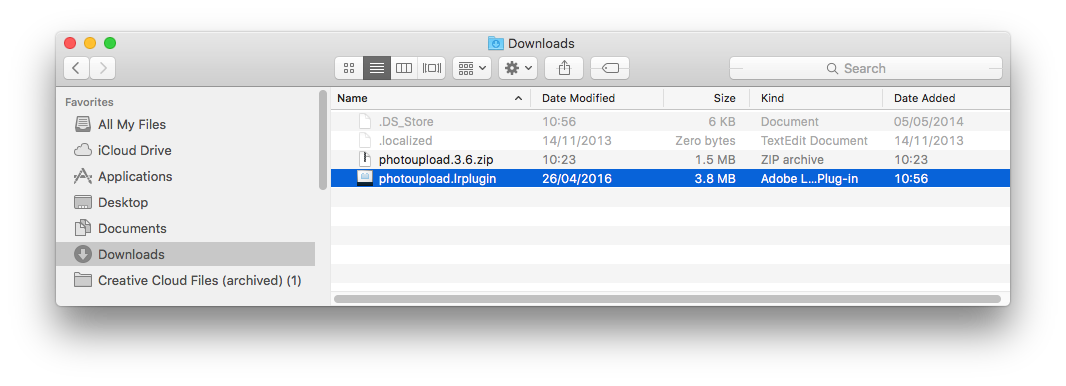
Copy the extracted folder, “photoupload.lrplugin” (i.e. not the file ending in “.zip“), into your Applications folder.
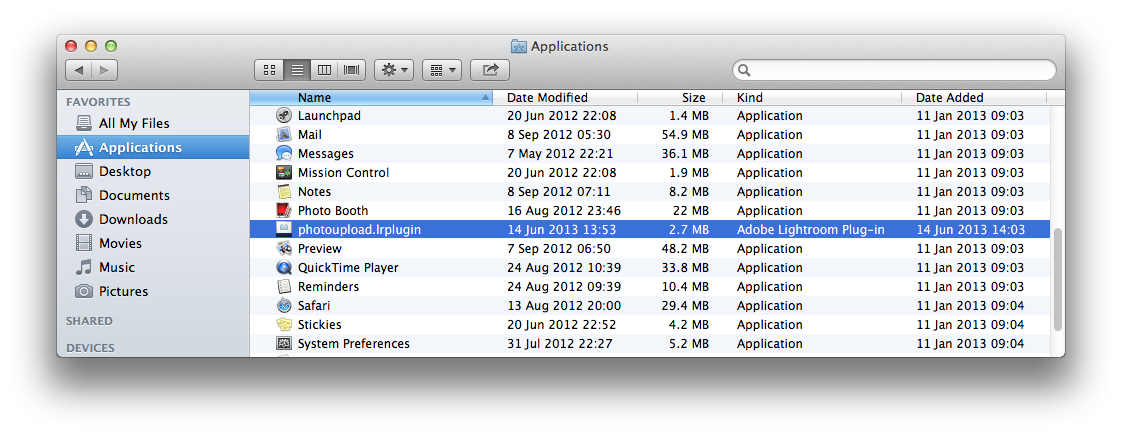
You should end up having the following folder hierarchy:/Applications/photoupload.lrplugin
Note: Don’t rename the photoupload.lrplugin folder as Lightroom requires the folder have an extension of lrplugin.
2. Install the plug-in within Lightroom
Installing a plug-in within Lightroom is relatively simple, but there are a few points to look out for. Follow the steps below to perform the installation.
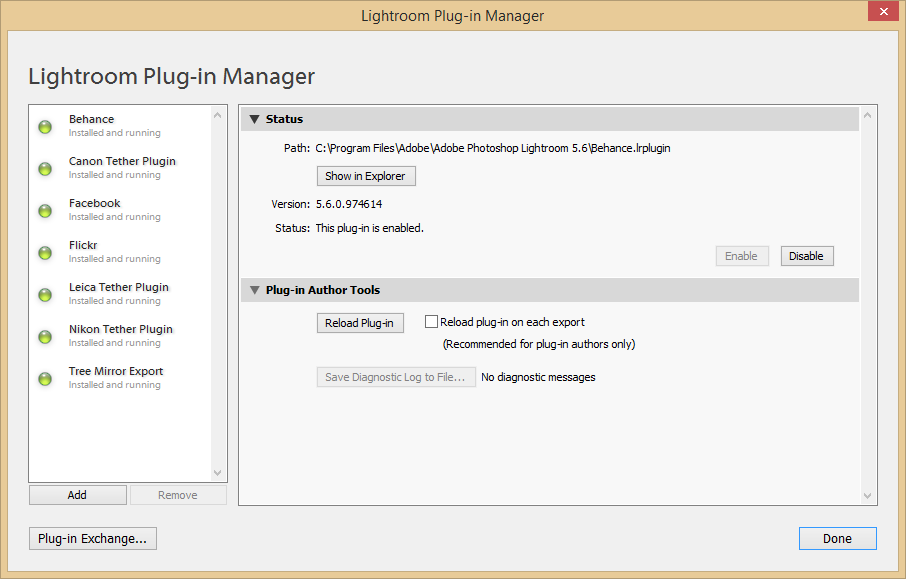
1. From the File menu in Lightroom, select “Plug-in Manager…”.
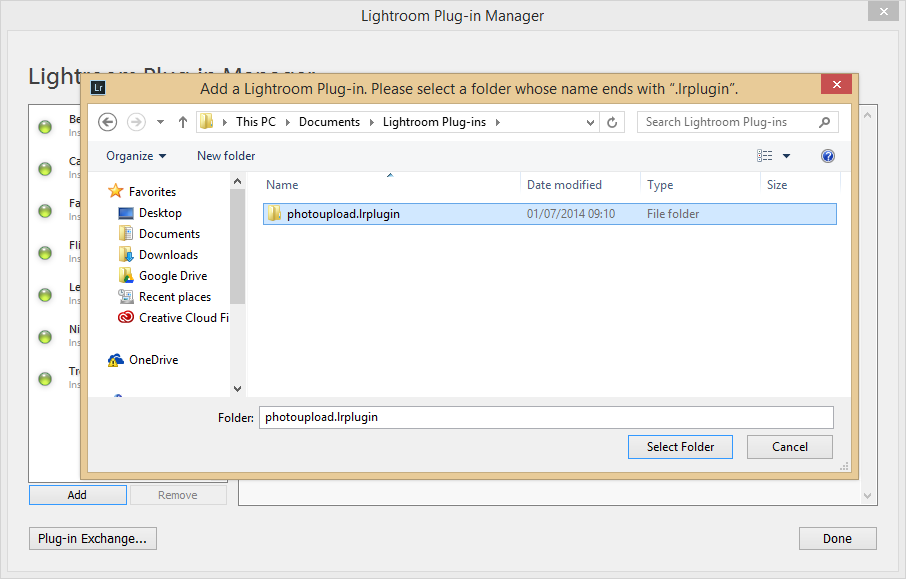
a. Click the “Add” button (in the bottom left corner).
b. In the selection window, select the plugin folder, “photoupload.lrplugin“, that you extracted from the Zip file earlier.
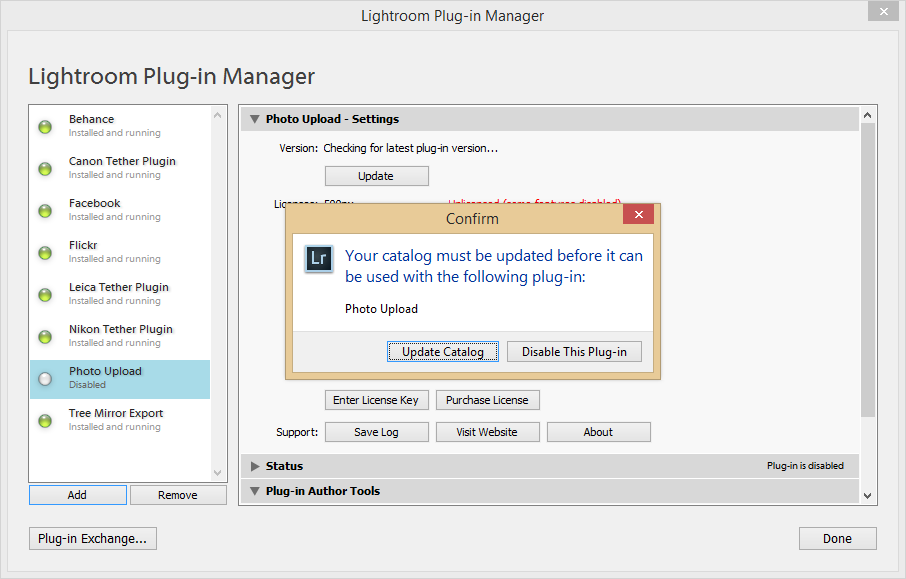
c. Lightroom may ask you to update your current catalog. (The plug-ins need to update your catalogs so they can store some extra information within them for each photo you upload.) You should allow this to happen by selecting “Update Catalog”.
d. When your catalog has been updated you will see the plug-in appear in the Plug-in Manager.

e. Finally, click “Done” in the bottom right of the window to close the Plug-in Manager.
Using the plug-in
For instructions on using the plug-ins see one of the following topics:
- Photo Upload
Support
If you have any trouble with the plug-ins, please refer to the Support FAQ page.
Comments
3 responses to “Download & installation”
[…] Welcome to my test post using Lightroom plugin called “Photo Upload” hears the features. FEATURES Photo Upload is a single plug-in for Adobe Lightroom that […]
[…] Leider gibt es im Lightroom Export keine Möglichkeit die Struktur zu übernehmen und auch dort entsprechend nach /Jahr/Monat/Tag zu exportieren. Abhilfe schafft das Plugin Tree Mirror was im Adobe Lightroom Exchange Verzeichnis heruntergeladen werden kann. Oder Alternativ das komplette Photo Upload Paket […]
[…] Installation des Plugins: http://www.newpproducts.com/lightroom-plug-ins/installation […]