Uploading your photos using Lightroom’s Export
1. Select the photos in Lightroom’s Library that you wish to export.
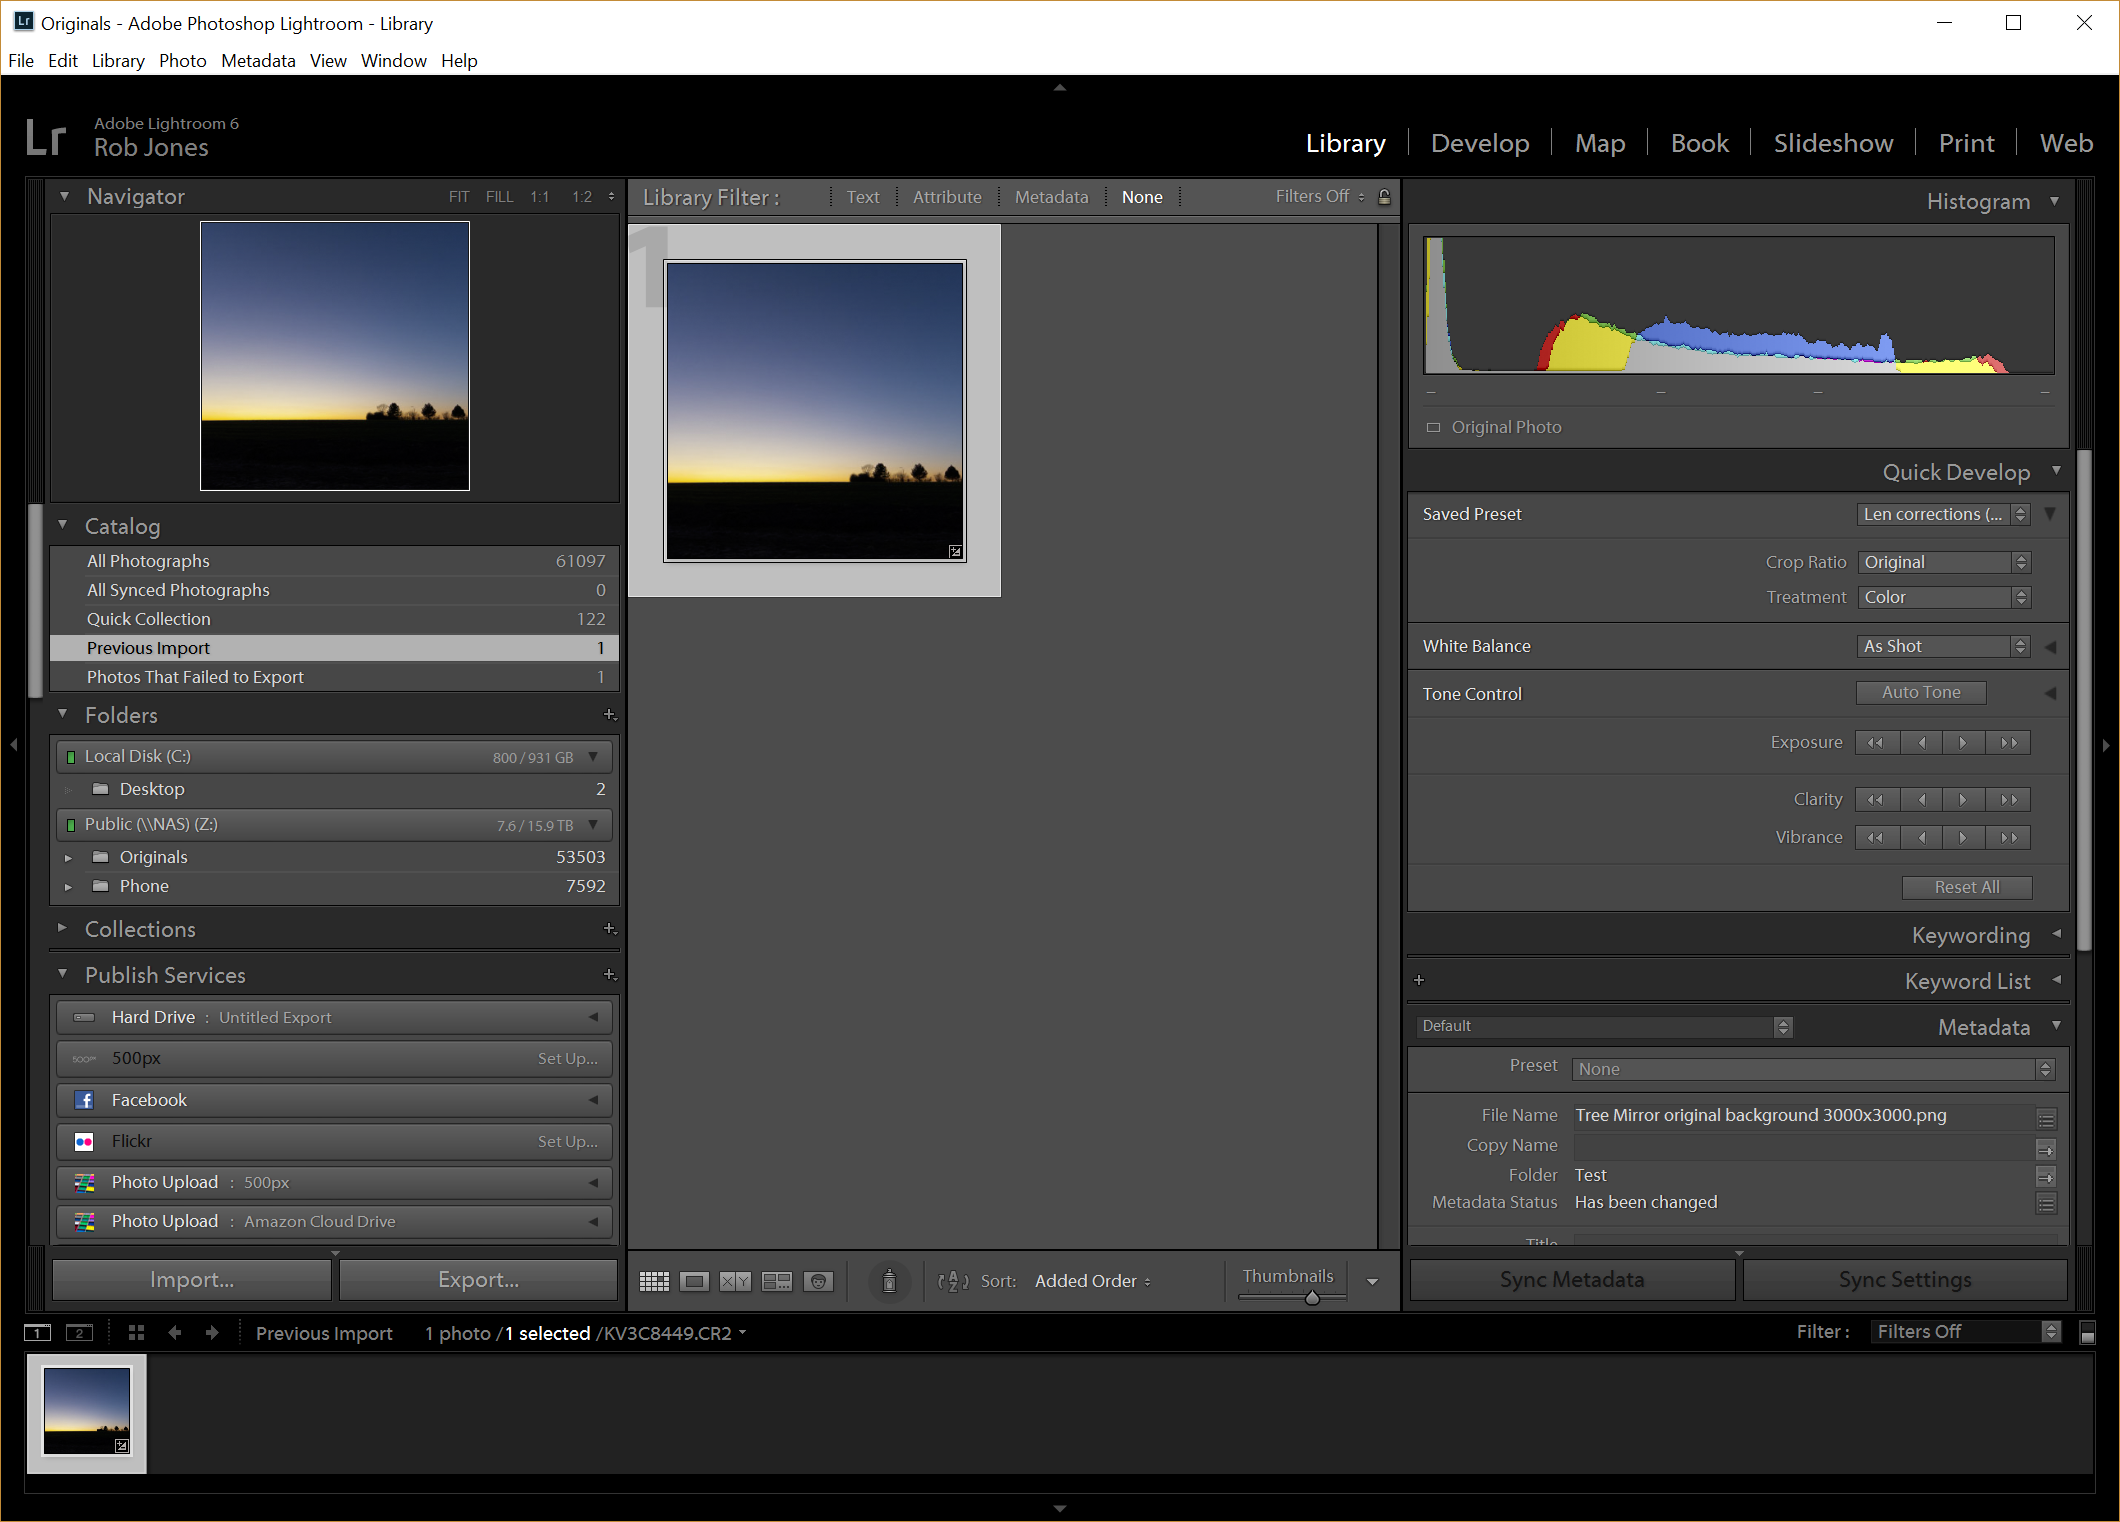
2. Click “Export…” to open the Export window.
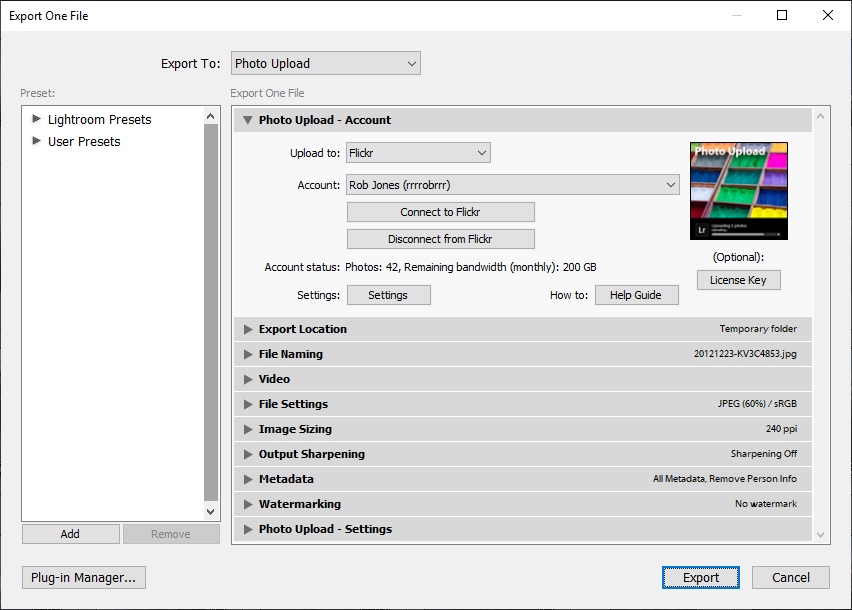
3. Make sure the “Export To:” box at the top indicates “Photo Upload”.
Ensure the plug-in is authenticated with your chosen photo service. Refer to the guide on Authenticating the plug-in.
When the plug-in is correctly authenticated, you can see your account name and status.
4. Check your export settings, i.e. choose an appropriate file format and size (I often choose JPEGs and the 1920 x 1080 resolution as this is perfect for many TVs and monitors).

5. Select “Export” from the bottom right of the Export window. Another window will open prompting you to choose an album to upload to.

Choose an existing album or, if the upload service permits, type the name of a new album that you wish to create – see the Features page to see what capabilities each upload service permits.
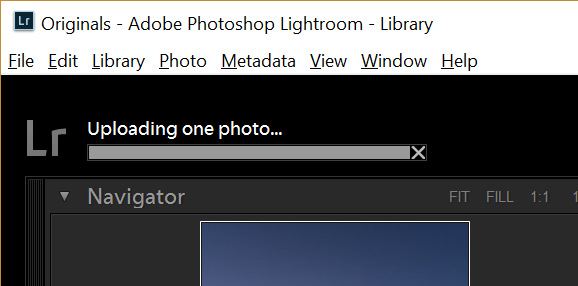
6. Select OK and your photos will be uploaded to the album you specified. You can see the progress of your uploads in the top left corner of Lightroom.
7. Once the photos are uploaded, your Web browser will open at a photo service page showing your selected album.
